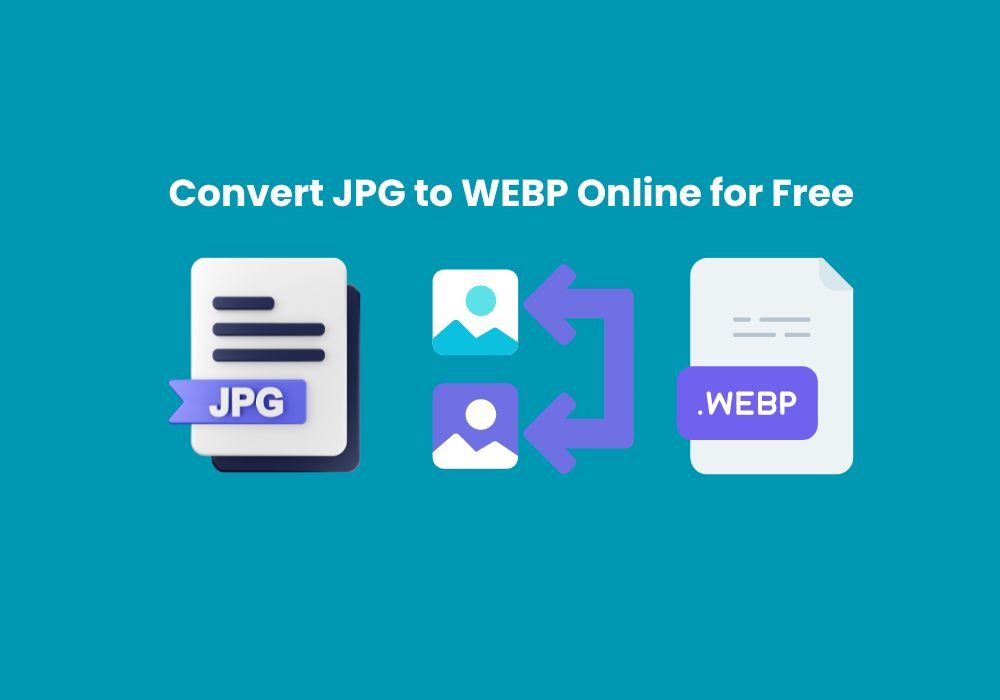

WebP is the go-to format for fast websites. But how do you actually convert your JPG or PNG files into WebP? Don’t worry—it’s simpler than you think. Here’s a step-by-step guide for beginners and professionals alike.
Method 1: Online Tools (Easy & Fast)
- Go to ShrinkWebPSize.com
- Upload your JPG/PNG images
- Click “Compress & Convert”
- Download optimized WebP files
✅ Best for non-technical users.
Method 2: WordPress Plugins
If you use WordPress:
- Enable automatic WebP conversion
- All new uploads get saved as WebP automatically
✅ Best for bloggers & e-commerce owners.
Method 3: Desktop Software (For Bulk Conversion)
- Select multiple JPG/PNG images
- Choose “Export as WebP”
- Save files in batch
✅ Best for large photo libraries.
Method 4: Google’s cWebP Command-Line Tool
For developers:
cwebp input.png -q 80 -o output.webp
This converts a PNG to WebP with 80% quality.
✅ Best for developers managing big websites.
Pro Tips
- Use lossless WebP for graphics/logos
- Use lossy WebP for product photos
- Always test load time improvements with Google PageSpeed
Conclusion
Converting images to WebP is simple—whether you prefer online tools, plugins, or command-line methods. By switching to WebP, you get lighter, faster, SEO-friendly images.
👉 Start compressing your images today at ShrinkWebPSize.com.